
In order to create all my coursework pieces it was necessary for me to use a variety of different technologies for the different stage of the preparation;
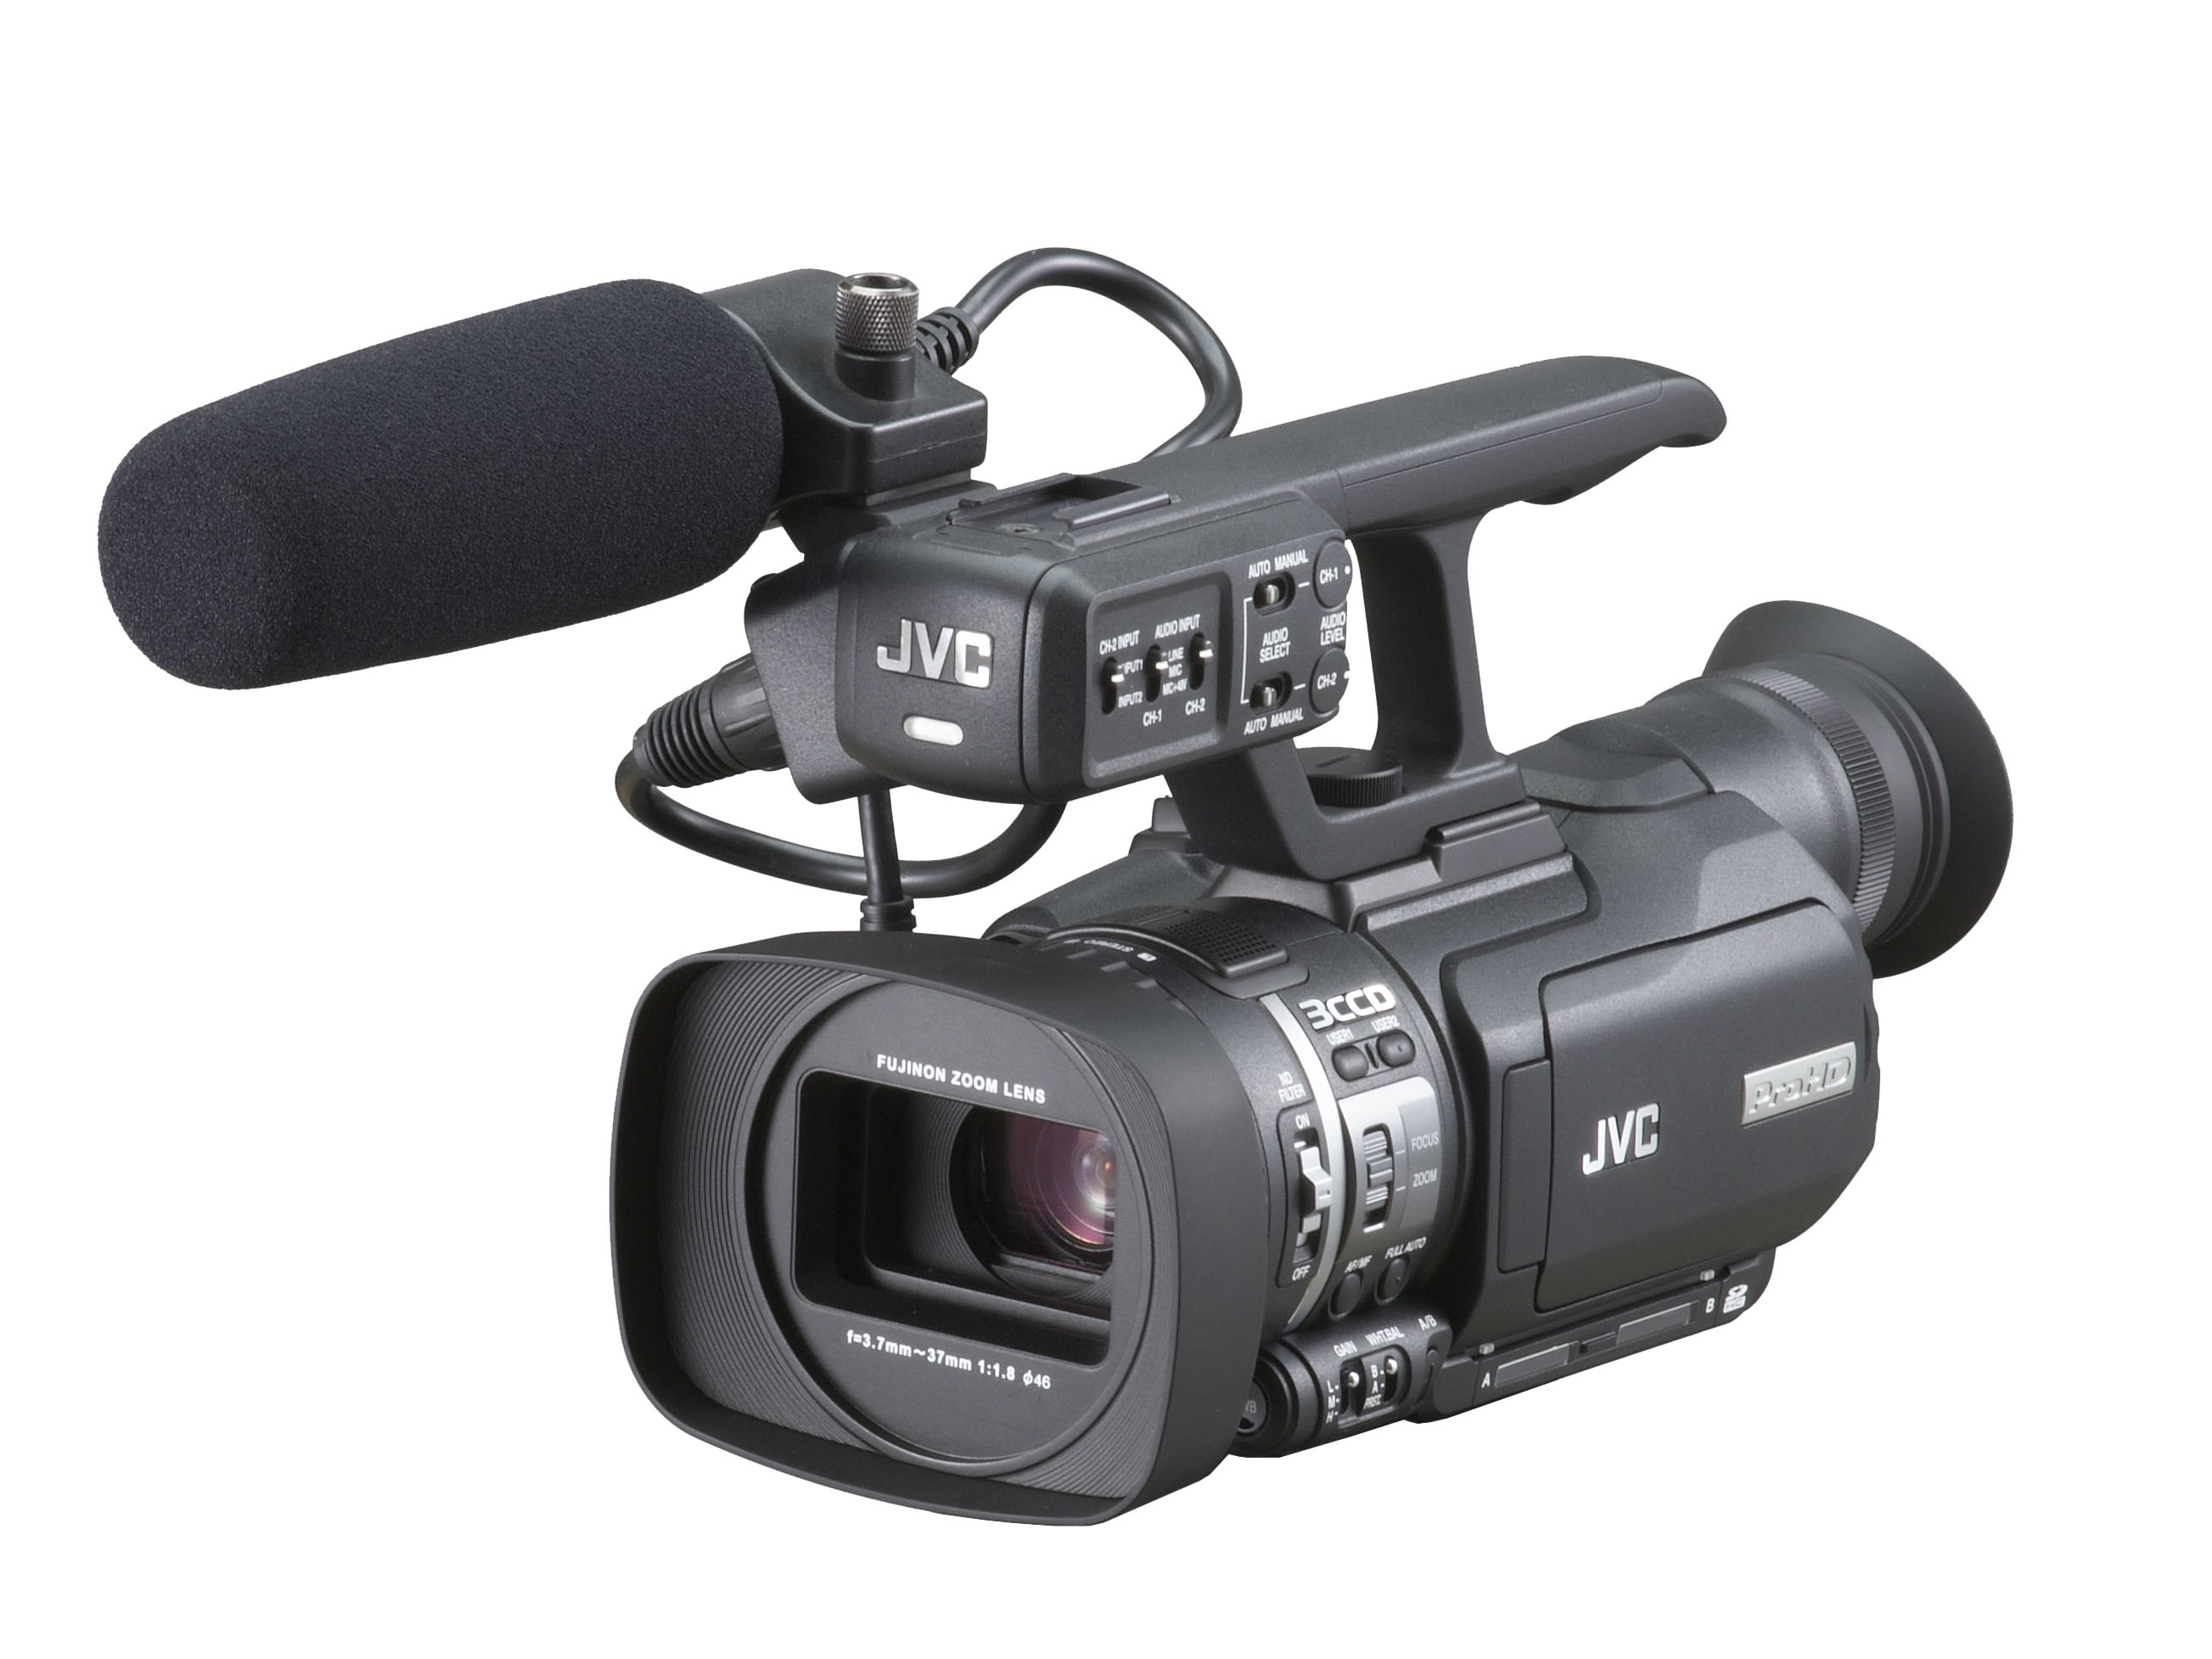
The first piece of technology i and my group were introduced to first was the college JVC cameras, these cameras help us create our actual music video. We as a class once again similar to last year had a class tutorial in which Marissa the college media department technician came in to go over the health and safety and also teach us how to place the camera on the tripod, insert the memory cards, place the camera into focus and how to keep the camera safe.


For some of our Video Clips in which we explain certain questions, we used a Flip Cam and uploaded the video straight to Blogger using the Blogger upload tool.

Another technology via the internet we used is Youtube which was an important factor in producing evidence for our own individual thoughts, we used videos from Youtube to present new ideas that we believed would work in our video . Below is a mini video that i produced using windows movie maker showing how youtube was used.
In order to present my blogs effectively it was necessary for me to create gifs, slide shows and scrapbooks, which were all created using either Smilebox, Photobucket or Picasion.com.via the internet. Below is the link to both Smilebox and Photobucket.
Below are screen grabs showing how i used Picasion.com to create gifs.

Firstly i typed in Make a gif in the google search tab.

Which then brang up a list of all the webpages where gifs are possible to be made.

Upon clicking on the picasion website link i was introduced to the above web page where it became pretty simple.

The simple tabs above which read choose file is what i next clicked on, which upon clicking on you are directed to your computer files


As you can see whilst able to locate your images or screen shots you are able to upload them on to Picasion, all that remains now is to publish you gif.
Before publishing your gif you need to choose the size and speed you want it to run at

When you believe your all done you need to click on the tab below which previews your gif and allows you to save publish and post it.

Below is a gif created using the above screen grabs.
Final cut is a fascinating and much helpful technology that was used during the editing of my and my group music video, Final cut is a application on apple mac which allowed us as a group copy, cut and paste separate images and create a whole 3-4 min video. Below is a a final cut tutorial video from youtube demonstrating how to use it and all its elements.
Creating an animatic to gain visual insights as to what we as a group will like to get a hold off in our actual video, we used the college still cameras.
Using the camera we took vaious images such as the ones below;


We later used these images to create a short video clip using final cut; which you can view upon clicking on the below URL;
Last but not least, recently we as a class were introduced to the Green screen, which by using we initially decided to incorporate the images taken infront of the screen in our digipak. Below is a image of Ayo our main artist whose picture in regards to the digipak was taken in front of the green screen. Unfortunately you can not actually see the green screen as these images are sfter being edited using the screen, the most crucial reason why people decide to take shots behind the green screen is so that the are able to cut the background behind a picture, as you can see below this is what we have done.

Below are images of us fiddling with the images taken using the screen and observing whether they work well as images for the digipak.


No comments:
Post a Comment